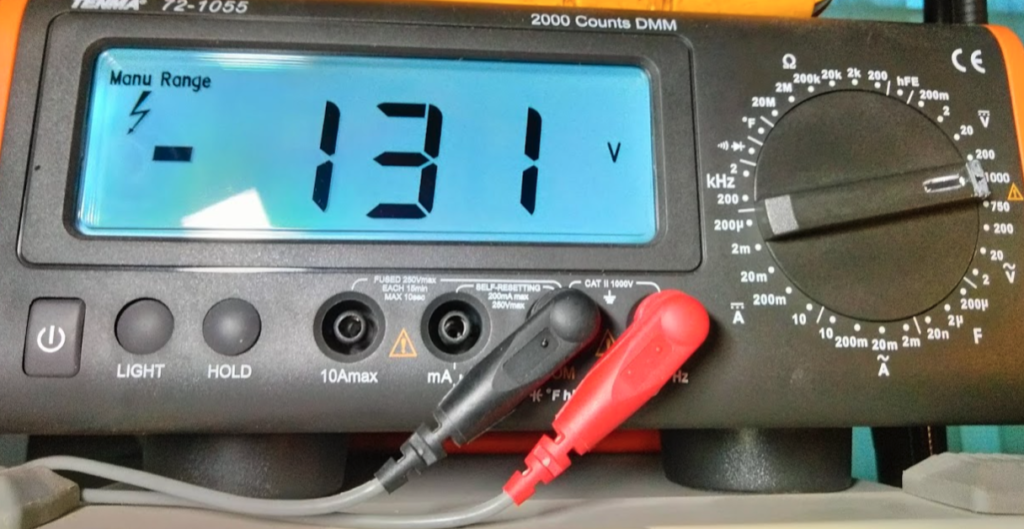
This post will indicate how you can measure the voltage available for pulsing the transducer for different settings. BUT, there are important considerations in understanding what the transducer actually experiences.
The Gotchas
This post will indicate how you can measure the voltage available for pulsing the transducer for different settings.
BUT (And this is important):
What the transducer actually sees is different. Why? or …What effects this?:
- The peak voltage going to the transducer is REDUCED as is passes through the pulse control components on the board itself.
- Board-to-cable-to-transducer impedance matching may create DIFFERENCES in the initial pulse voltage for example (in our case) and maybe by capacitance in long cable runs, etc.
- Transducer tuning, especially inductors or inductive like qualities, and cable characteristics, including length, may create a RESONANT PEAK or RESONANT REFLECTION or RINGING such that the transducer could see a pulse that starts with one polarity and REFLECTS/RINGS to create an equal (more or less – yes sometimes more, all things together) “ring” or additional bounced pulse with the OPPOSITE polarity, such that the total voltage differential in a short time is TWICE what you might expect. OR, simply, the pulse at the transducer could simply be (resonantly) larger than the nominal voltage available for pulsing.
- Further: That “ringing” with the opposite polarity could be an even bigger problem because for example, some transducers (some composites? or was it another type?) may be particularly sensitive to the polarity of the applied voltage, not just the peak value.
- Stuff like that. Points is, there are other factors. But the method here to measure the nominal baseline voltage available for pulsing may help for general limits purposes, with those other ideas in mind.
- Some board assembly variants during supply chain drama times might also change the output and pulse shaping as well such that greater ringing or overshoots were possible as well.
Measurement Method
- Set up DMM and place probes on the board at the places shown below in the photo.
- Command sequence tested (using DacqMan here, probably similar in your tool – do the work flow that works in your tool):
- Set Tx Chan (maybe not necessary for you)
- Set Rx Chan (maybe not necessary for you)
- Set Tx Gain (Pulse voltage setting) Gain zero
- Measure voltage.
- Repeat for Tx Gain (Pulse voltage setting) settings zero through whatever. At some point you software tool in combination with the firmware may limit that actual command that the board will comply with. So that you can’t set it too high.
- Re-cap on gotchas:
- Results may vary depending on your board assembly variant eg voltage module and other things.
- See the GOTCHAs section above – things like transducer tunings and impedances and board assembly variant (for other components).
- Tests here with this board pictured gave the range (by design) -60 to -180 baseline voltage from zero to 4 settings for the voltage control.

